
In this article, we’ll build a simple, animated 3D matrix step by step. We’ll leave out all the complex stuff like textures and different states. We’ll focus on the core: a grid of points and a beautiful, wavy animation using a simple mathematical function.
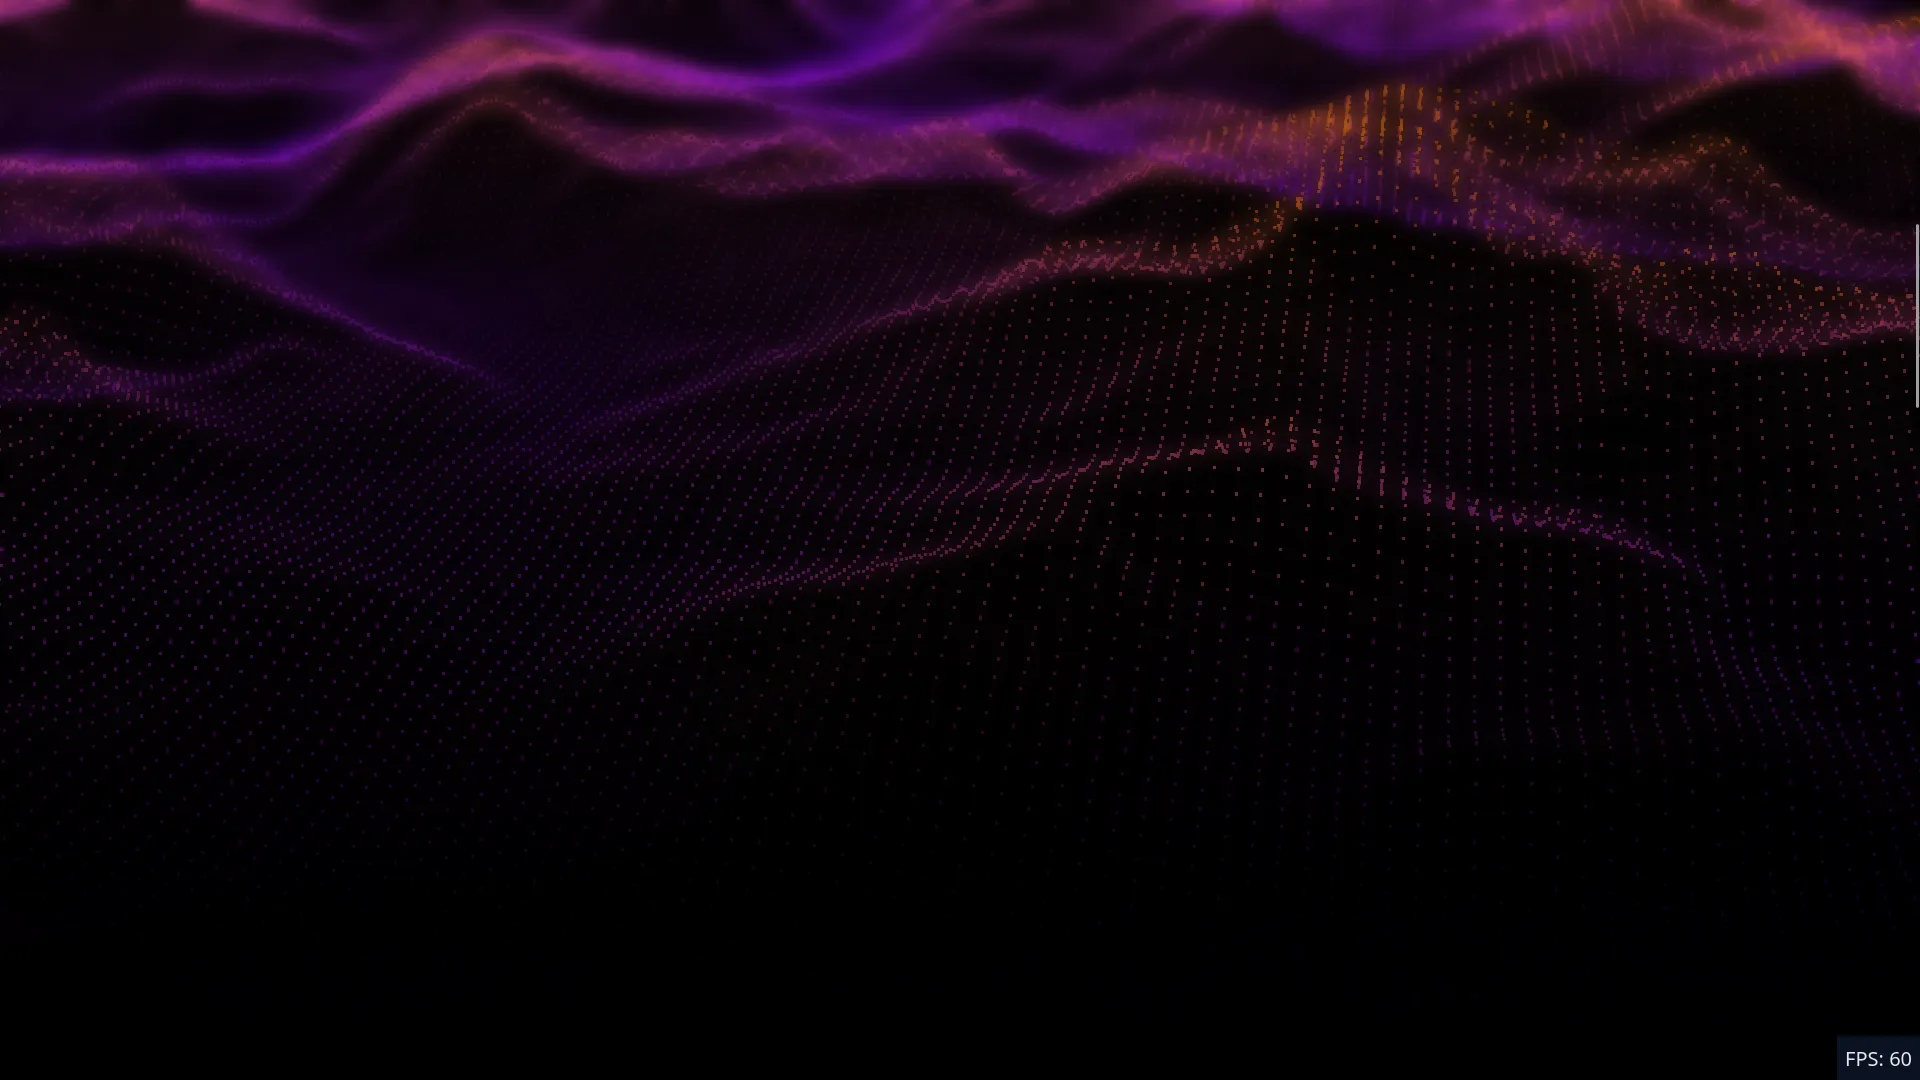
What are we going to build? A flat plane of thousands of dots that comes to life with a soft, wavy motion, all in 3D.
Before We Begin: The Setup
Make sure you have a basic project set up with Babylon.js. All you need is an index.html with a <canvas> element and a JavaScript or TypeScript file where you import the Babylon.js packages.
Install the necessary packages:
npm install @babylonjs/coreYour HTML file is minimal:
<!DOCTYPE html>
<html>
<head>
    <title>Babylon.js Dot Matrix</title>
    <style>
        html, body {
            overflow: hidden;
            width: 100%;
            height: 100%;
            margin: 0;
            padding: 0;
            touch-action: none;
        }
        #renderCanvas {
            width: 100%;
            height: 100%;
        }
    </style>
</head>
<body>
    <canvas id="renderCanvas"></canvas>
    <script src="your-script.js"></script>
</body>
</html>
Step 1: Setting Up the Scene
Every Babylon.js project starts with an Engine, a Scene, and a Camera. We’ll create a simple script that handles this for us.
// Import the necessary classes
import { Engine } from "@babylonjs/core/Engines/engine";
import { Scene } from "@babylonjs/core/scene";
import { Vector3 } from "@babylonjs/core/Maths/math.vector";
import { FreeCamera } from "@babylonjs/core/Cameras/freeCamera";
import "@babylonjs/core/Loading/loadingScreen"; // Needed for loading screens

// Get the canvas element from the HTML
const canvas = document.getElementById("renderCanvas") as HTMLCanvasElement;

// Create the Babylon.js engine
const engine = new Engine(canvas, true);

// Create a function to create the scene
const createScene = (): Scene => {
    const scene = new Scene(engine);

    // Create a camera and position it
    const camera = new FreeCamera("camera1", new Vector3(0, 1.5, -4), scene);
    camera.attachControl(canvas, true);

    // We'll add our dot matrix here soon!

    return scene;
};

// Create the scene
const scene = createScene();

// Start the render loop
engine.runRenderLoop(() => {
    scene.render();
});

// Make sure the engine adapts to the window size
window.addEventListener("resize", () => {
    engine.resize();
});
If you run this, you’ll see an empty, dark blue screen. Perfect! Our 3D world is ready to be filled.
Step 2: The Point Cloud (PointsCloudSystem)
To efficiently draw thousands of points, we use the PointsCloudSystem (PCS) from Babylon.js. This is an object specially designed to manage large quantities of particles without tanking performance.
Let’s add the PCS to our createScene function.
// Add these imports at the top of your file
import { PointsCloudSystem } from "@babylonjs/core/Particles/pointsCloudSystem";
import type { CloudPoint } from "@babylonjs/core/Particles";

// ... in your `createScene` function ...

// --- CONFIGURATION ---
const particleCount = 20000; // How many dots do we want?
const matrixSize = 3;       // How large is our grid?
// --- END CONFIGURATION ---

// Create the PointsCloudSystem
const pcs = new PointsCloudSystem("pcs", 3, scene); // The '3' is the size of the particles

// Function to calculate the position of a particle
const initializeParticle = (particle: CloudPoint) => {
    // We want to place the particles in a square grid.
    // For this, we calculate 'normalized' coordinates (u, v) that go from 0 to 1.
    const columns = Math.ceil(Math.sqrt(particleCount));
    const u = (particle.idx % columns) / (columns - 1);
    const v = Math.floor(particle.idx / columns) / (columns - 1);

    // Convert the (u, v) coordinates to 3D positions
    particle.position.x = u * matrixSize - matrixSize * 0.5;
    particle.position.y = 0; // Start flat on the y-axis
    particle.position.z = v * matrixSize - matrixSize * 0.5;
};

// Add the particles to the PCS with our initialization function
pcs.addPoints(particleCount, initializeParticle);

// Build the mesh so the particles become visible
pcs.buildMeshAsync();
What’s happening here?
- We create a
PointsCloudSystem. - We define a function
initializeParticlethat is executed once for each particle. - In that function, we calculate
uandvcoordinates. Think of these as X and Y on a 2D image, but for our grid. They range from 0.0 to 1.0. This makes the next step (animation) much easier. - We place each particle at its
(x, y, z)position. Theyvalue is 0, so they form a perfectly flat plane. pcs.addPointscreates the particles, andpcs.buildMeshAsyncensures they are drawn.
If you run the code now, you’ll see a flat, static square of dots. Time for the magic!
Step 3: Bringing it to Life with a Sine Wave
Animation in the PCS works by defining a special function: pcs.updateParticle. This function is executed for every particle, every frame. Here, we can adjust the position (and color) of the particles.
We’re going to adjust the y position of each particle using Math.sin().
// ... in your `createScene` function, after creating the PCS ...

let elapsedTime = 0;
scene.onBeforeRenderObservable.add(() => {
    elapsedTime += engine.getDeltaTime() / 1000;
    // Tell the PCS to update the particles for the next frame
    pcs.setParticles();
});

// Define the update logic for the particles
pcs.updateParticle = (particle) => {
    // Get the same (u, v) coordinates as during initialization
    const columns = Math.ceil(Math.sqrt(particleCount));
    const u = (particle.idx % columns) / (columns - 1) - 0.5; // -0.5 to center it at 0,0
    const v = Math.floor(particle.idx / columns) / (columns - 1) - 0.5; // -0.5 to center it at 0,0

    // --- THE MAGIC OF THE SINE WAVE ---
    // Calculate the distance of the particle from the center of the matrix
    const distance = Math.sqrt(u * u + v * v);

    // Calculate the height (y-position) with a sine wave
    // - `distance * 10`: Creates rings. Change '10' to make the waves wider/narrower.
    // - `elapsedTime * 2`: Makes the wave animate over time. Change '2' for the speed.
    const waveHeight = Math.sin(distance * 10 - elapsedTime * 2);

    // Update the y-position of the particle
    particle.position.y = waveHeight * 0.2; // * 0.2 is the amplitude (height) of the wave

    return particle;
};
Analysis of the updateParticle function:
- We recalculate the
uandvcoordinates, but now we subtract 0.5. This centers the coordinate system at(0,0), which is useful for effects that originate from the center. - We calculate the
distanceof the particle from this center using the Pythagorean theorem. - We use
Math.sin()with this distance and theelapsedTime. This creates a ripple effect that moves outward from the center. - We update
particle.position.ywith the result.
We also added an elapsedTime variable that is updated in the scene.onBeforeRenderObservable. This is our “clock” for the animation. pcs.setParticles() triggers the updateParticle function for all particles.
Step 4: Adding Some Color
A white wave is nice, but a colored wave is even better! We can adjust the color of each particle based on its height. High peaks get a different color than deep troughs.
Add the Color4 import at the top of your script:
import { Color4 } from "@babylonjs/core/Maths/math.color";And modify the updateParticle function:
// ... in the `pcs.updateParticle` function ...

// (After calculating `waveHeight`)

// Update the y-position
particle.position.y = waveHeight * 0.2;

// --- COLOR LOGIC ---
// The sine wave goes from -1 to 1. We convert this to a 0 to 1 range.
const normalizedHeight = (waveHeight + 1) / 2; // Now from 0 (trough) to 1 (peak)

// Define a start and end color
const bottomColor = { r: 0.5, g: 0, b: 1 }; // Purple
const topColor = { r: 1, g: 0.5, b: 0 };  // Orange

// Interpolate between the two colors
// particle.color is a Color4 (r, g, b, alpha)
if (!particle.color) particle.color = new Color4(0, 0, 0, 1);

particle.color.r = bottomColor.r + (topColor.r - bottomColor.r) * normalizedHeight;
particle.color.g = bottomColor.g + (topColor.g - bottomColor.g) * normalizedHeight;
particle.color.b = bottomColor.b + (topColor.b - bottomColor.b) * normalizedHeight;

return particle;
Now each particle will get a color that smoothly transitions from purple (in the troughs) to orange (on the peaks).
Conclusion and Next Steps
Congratulations! You’ve created a beautiful, animated 3D dot matrix with just a few lines of Babylon.js logic. You’ve learned the basic principles of the PointsCloudSystem, positioning particles in a grid, and animating them with a simple mathematical function.
What can you try now?
- Play with the numbers: Change the
particleCount,matrixSize, or the numbers in theMath.sin()function. What happens if you adjust the frequency (* 10) or the speed (* 2)? - Other waves: Replace
distancewithuorvto get waves that move in one direction. Or combine multiplesin()functions for more complex patterns. - Other colors: Choose your own
topColorandbottomColorfor a unique look.
Now that you understand this basis, you can imagine how the more complex version from your original code worked: instead of a simple Math.sin() value, that code read the brightness of a pixel from an image to determine the height. But the underlying structure is exactly the same!
Happy coding